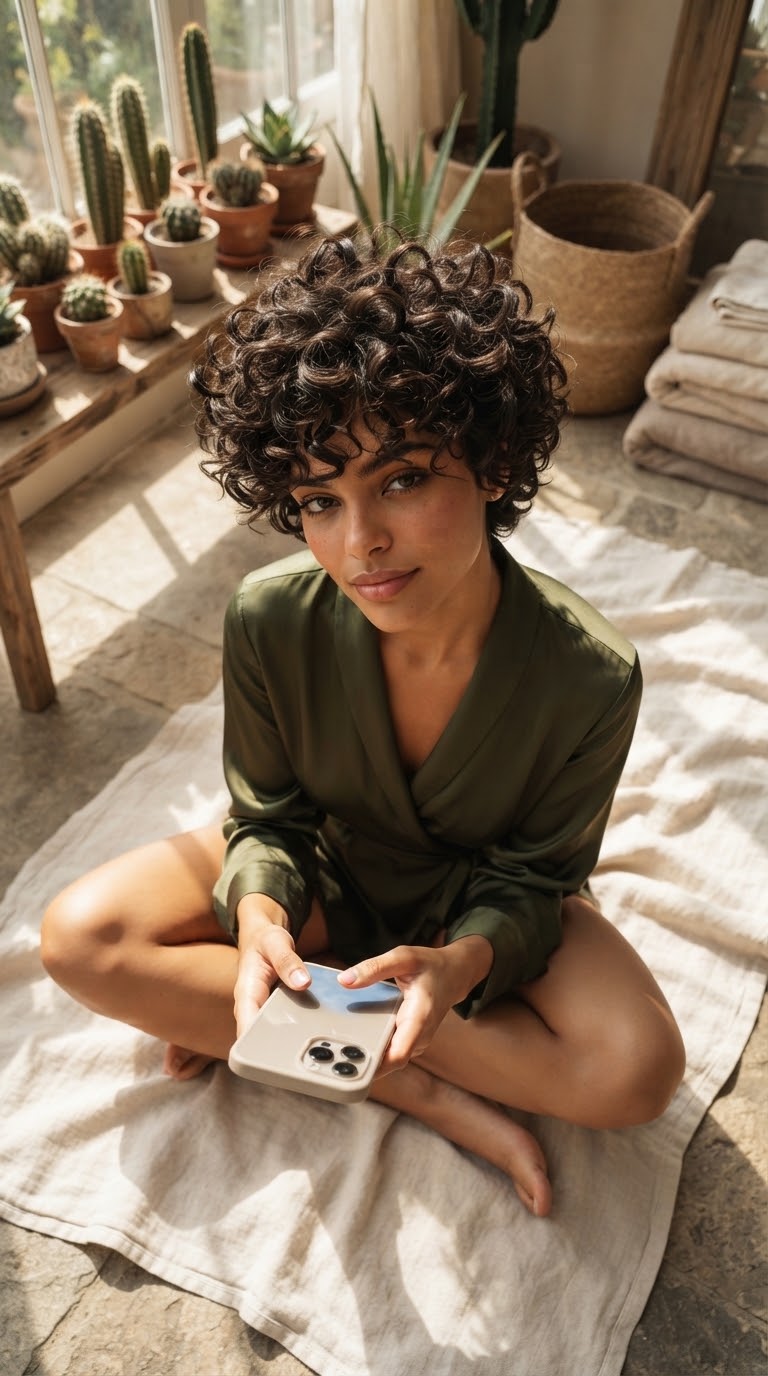

My mother cut curls in a basement salon with a comb and a lot of confidence, and the one lesson that stuck with me watching her was this: curls do not behave like straight hair on the floor, so you cannot cut a curly pixie the way you cut a straight one. Every curl pattern shrinks up differently once it dries, which is exactly why the six pixies below look so different from each other despite all being short. Think of this less as one haircut and more as six different conversations to have with your stylist, depending on your curl type, your face shape, and how much time you actually want to spend on your hair each morning.
The Wispy-Fringe Curly Pixie
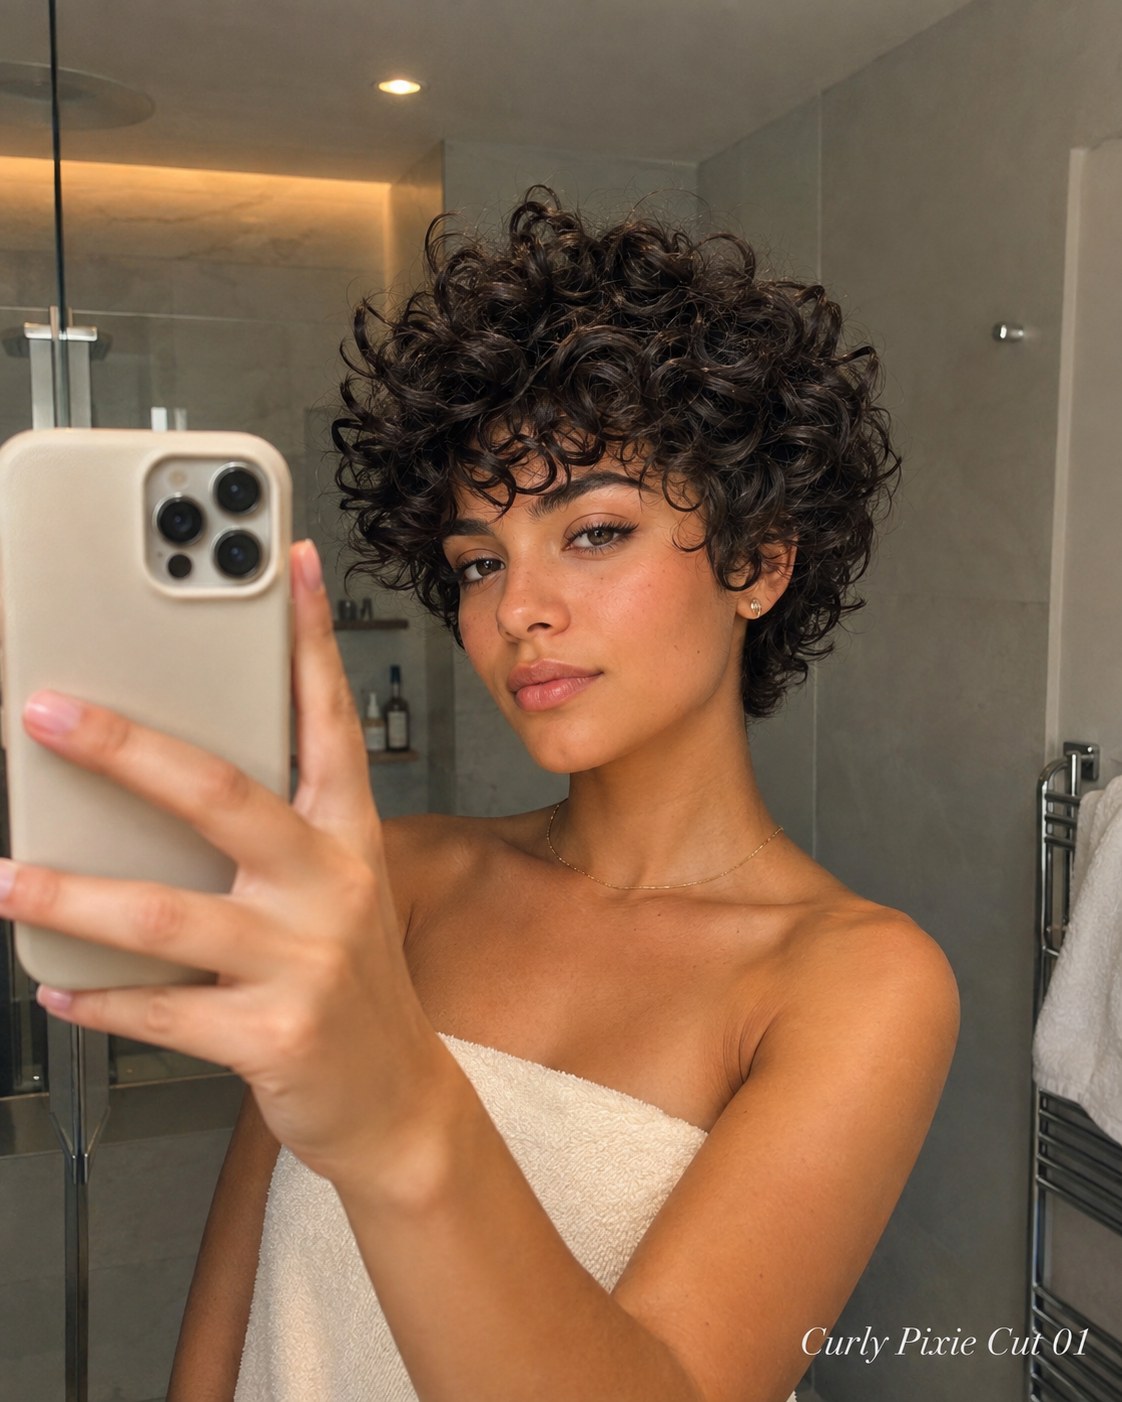
This is the version I point to most often when someone asks for a curly pixie that reads polished rather than undone. The curls stay dense and springy through the crown while the fringe is left wispy and separated instead of blunt, which keeps the whole look from feeling heavy on the forehead.
- Best for: oval and heart-shaped faces, since the broken fringe softens a wider forehead without hiding your eyebrows entirely.
- Cutting note: a good curl specialist cuts this dry, curl by curl, because curls shrink up differently than they hang wet — cut it wet and you risk a fringe that lands two inches shorter than you expected.
- Styling reality: a lightweight curl cream scrunched in on soaking wet hair, then diffused on low heat, is what keeps the curl pattern intact without frizzing out the fringe.
Tell your stylist you want the perimeter point-cut, not blunt-cut — it lets individual curls fall separately instead of clumping into one shape.
The Silver Curly Pixie for Softened Texture
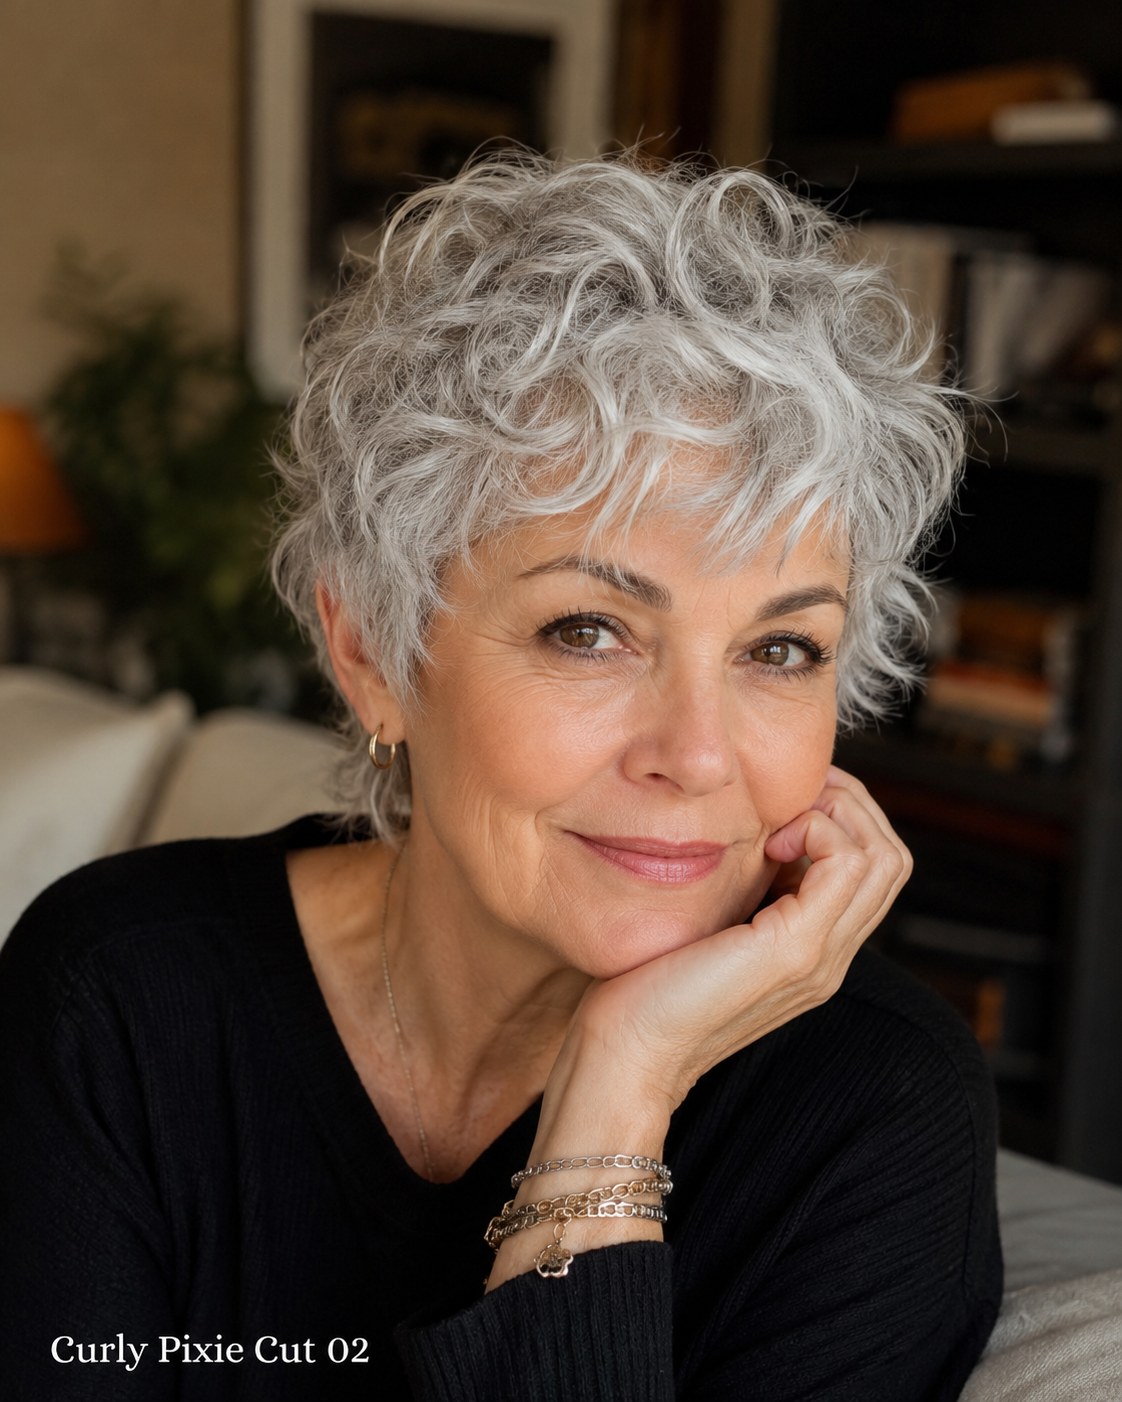
Curl pattern does not stay fixed forever — it loosens and thins in diameter as hair grays, which is something I did not fully understand until I started interviewing colorists about gray transitions. This soft, rounded pixie is built for exactly that shift: shorter layers throughout give looser curls the density they need to hold shape without looking flat.
A curl that has thinned with age needs volume built into the cut itself — no amount of mousse fixes a shape that was cut for thicker hair.
What makes it work is the rounded silhouette rather than a sharply tapered one, which flatters a softer jawline and keeps the gray looking intentional instead of simply undone. Skip heavy curl creams here; they weigh down a looser pattern fast. A light foam or mousse, applied to damp hair and left to air-dry or gently diffused, keeps the volume without the crunch.
The Voluminous Ringlet Pixie
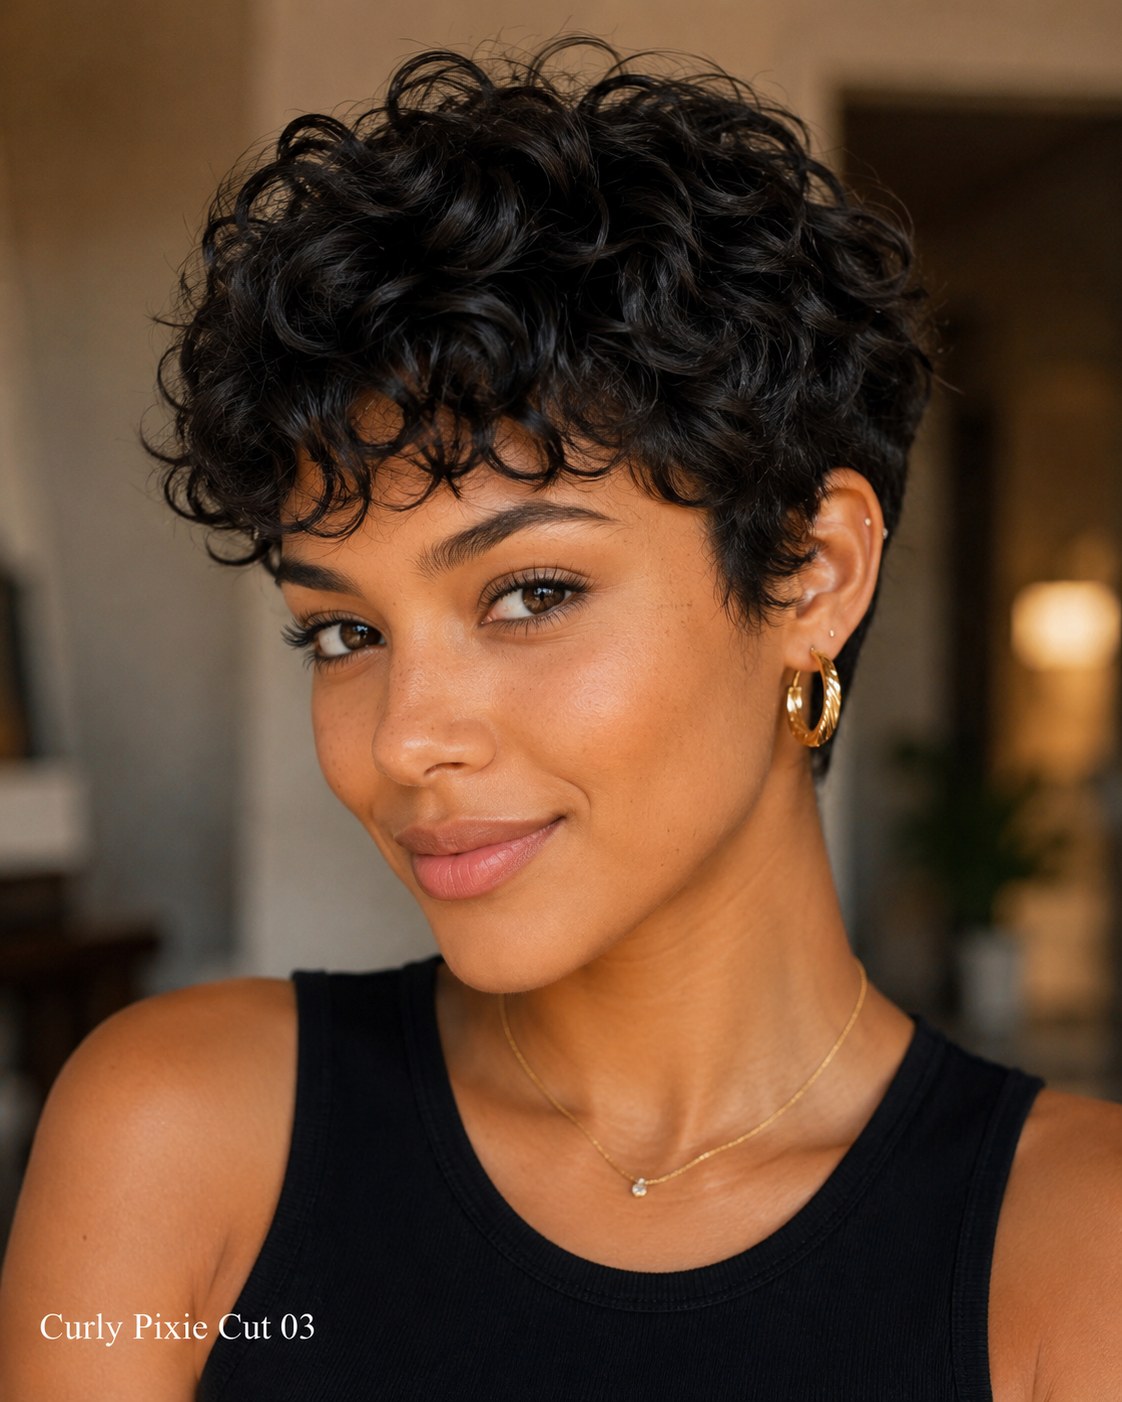
Where the previous cut leans soft, this one leans full and defined. Tighter ringlets are cut so the crown builds height rather than falling flat, and the sides stay short enough to keep the shape from reading as a bigger, rounder cut than intended.
Who this flatters
The rounded crown volume balances a narrower chin or a longer face shape nicely — it adds width exactly where a longer face needs it.
- Definition trick: apply curl cream to hair that is still dripping wet, not just damp — excess water is what activates most curl-defining formulas properly.
- Try plopping: wrapping the wet curls in a microfiber towel or cotton t-shirt for ten minutes before diffusing sets the ringlet shape before you even reach for heat.
- Humidity note: glycerin-based products can pull moisture from the air on humid days, which is great for curl bounce but can also mean some frizz — a light gel over the cream helps seal it.
The Longer Curly Pixie with Side-Swept Fringe
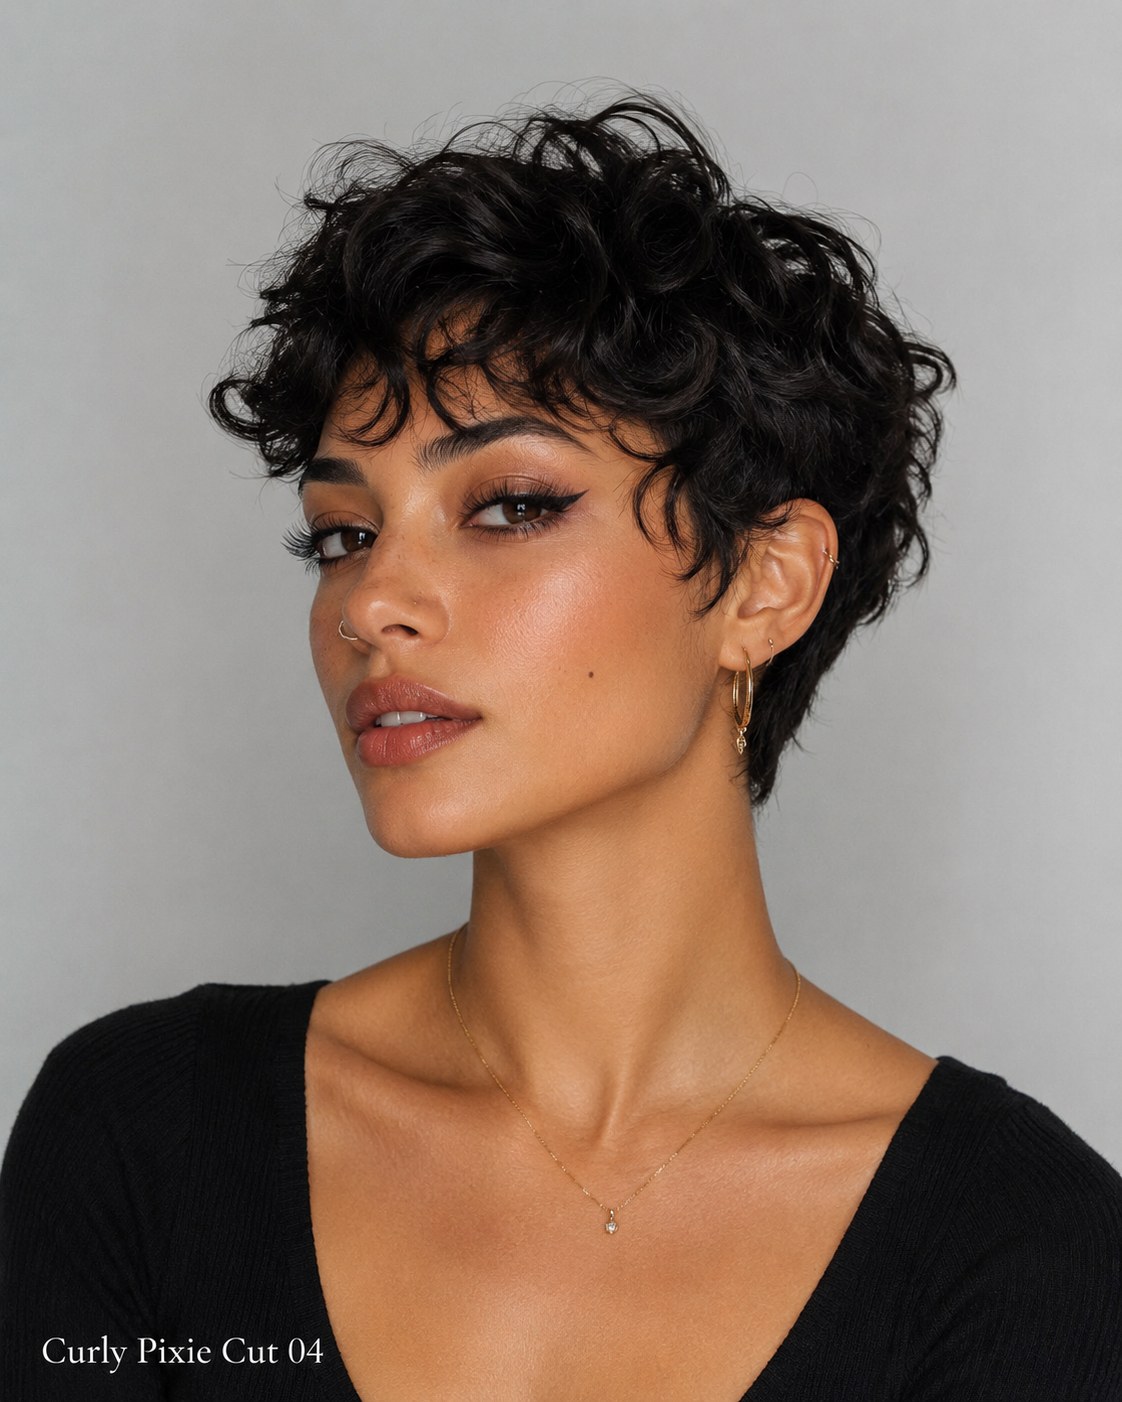
This is the pixie I recommend to anyone growing out a shorter cut but not ready to commit to a full bob — there is enough length on top to sculpt and sweep, while the sides stay tapered and manageable. The side-swept fringe gives it a more sculpted, finished look compared to a straight-across curly fringe.
The key difference from the wispy version is length distribution: more length stays through the crown and front, which lets you push the curls to one side with a flexible-hold gel instead of a cream alone. Applying product with your fingers in a raking motion, following the direction you want the fringe to fall, trains the curls as they dry rather than fighting them into place afterward.
- Ask for: longer layers concentrated at the front third of the head.
- Product pairing: curl cream first for definition, a pea-sized amount of gel over the fringe section only for hold.
The Shaggy, Undone Curly Pixie
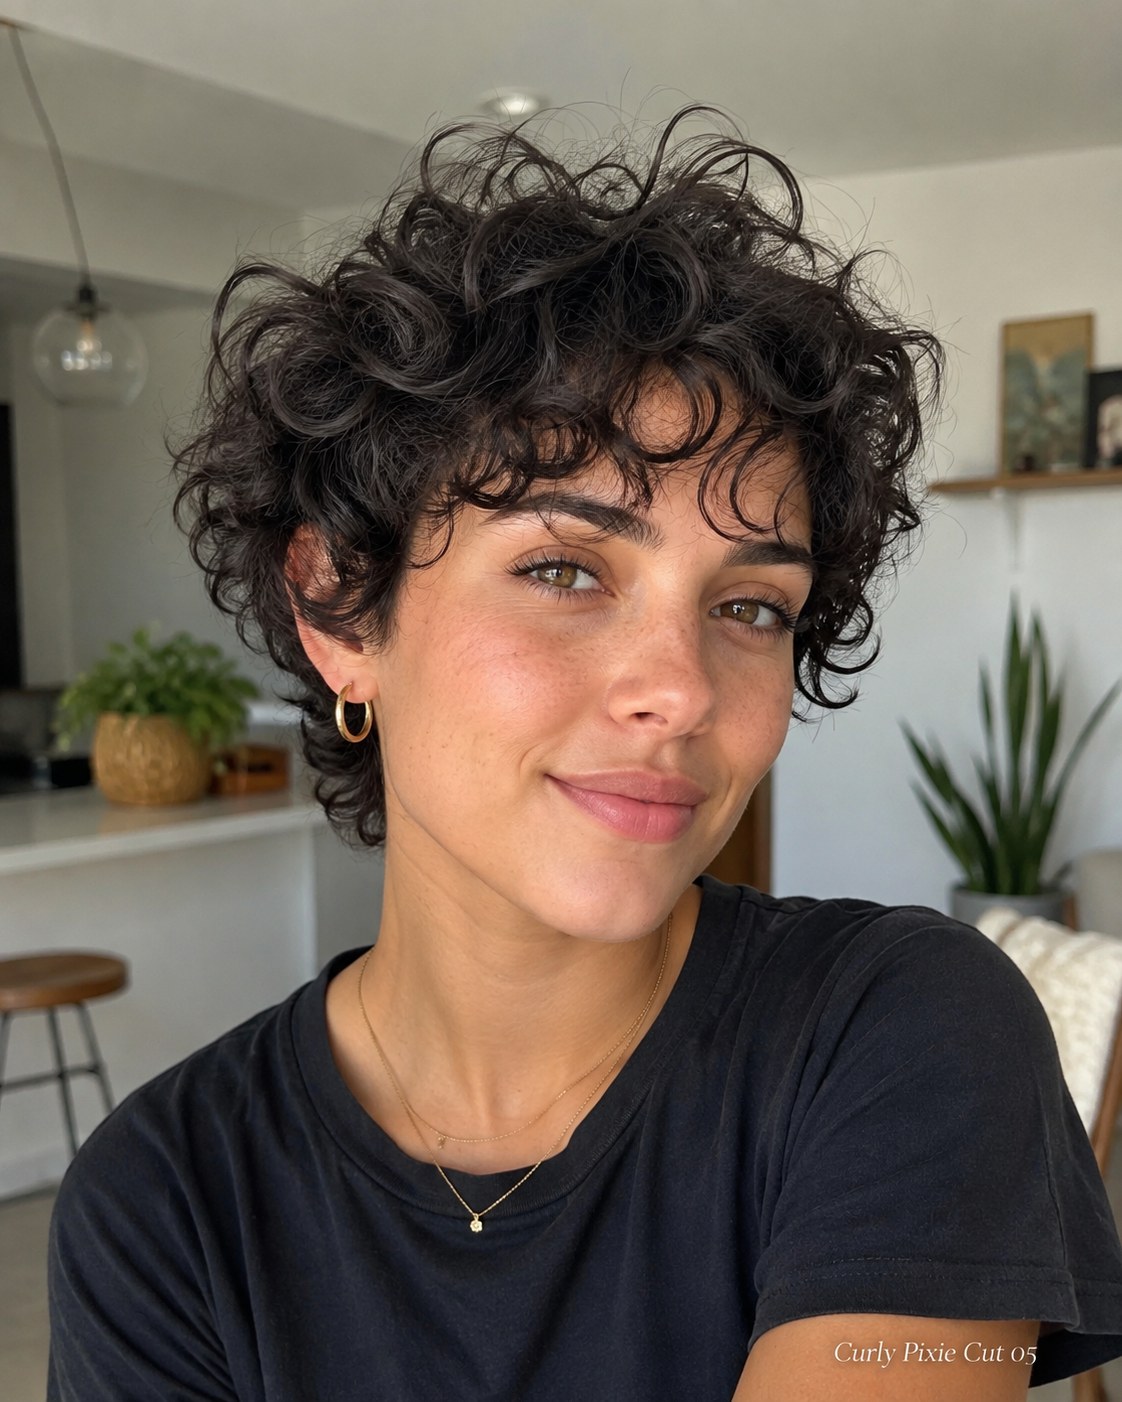
If you want the lowest-maintenance option on this list, this is it. The layers are cut loosely and unevenly on purpose, so the curls fall into a lived-in shag rather than a tidy, uniform shape. It is the closest thing to wash-and-go that a curly pixie gets.
- Wash with a sulfate-free cleanser so you are not stripping the natural oils that help curls hold their shape.
- Apply a small amount of curl cream, scrunch, and walk away — do not touch it again until it is fully dry, since disturbing curls mid-dry is the number one cause of frizz.
- Refresh day two or three with a spray bottle of water and a touch of styling cream rubbed between your palms.
Ask your stylist for disconnected, textured layers rather than graduated ones — that is what gives this cut its slightly messy, effortless movement instead of a neat dome shape.
The Curly Shag Pixie with Length at the Nape
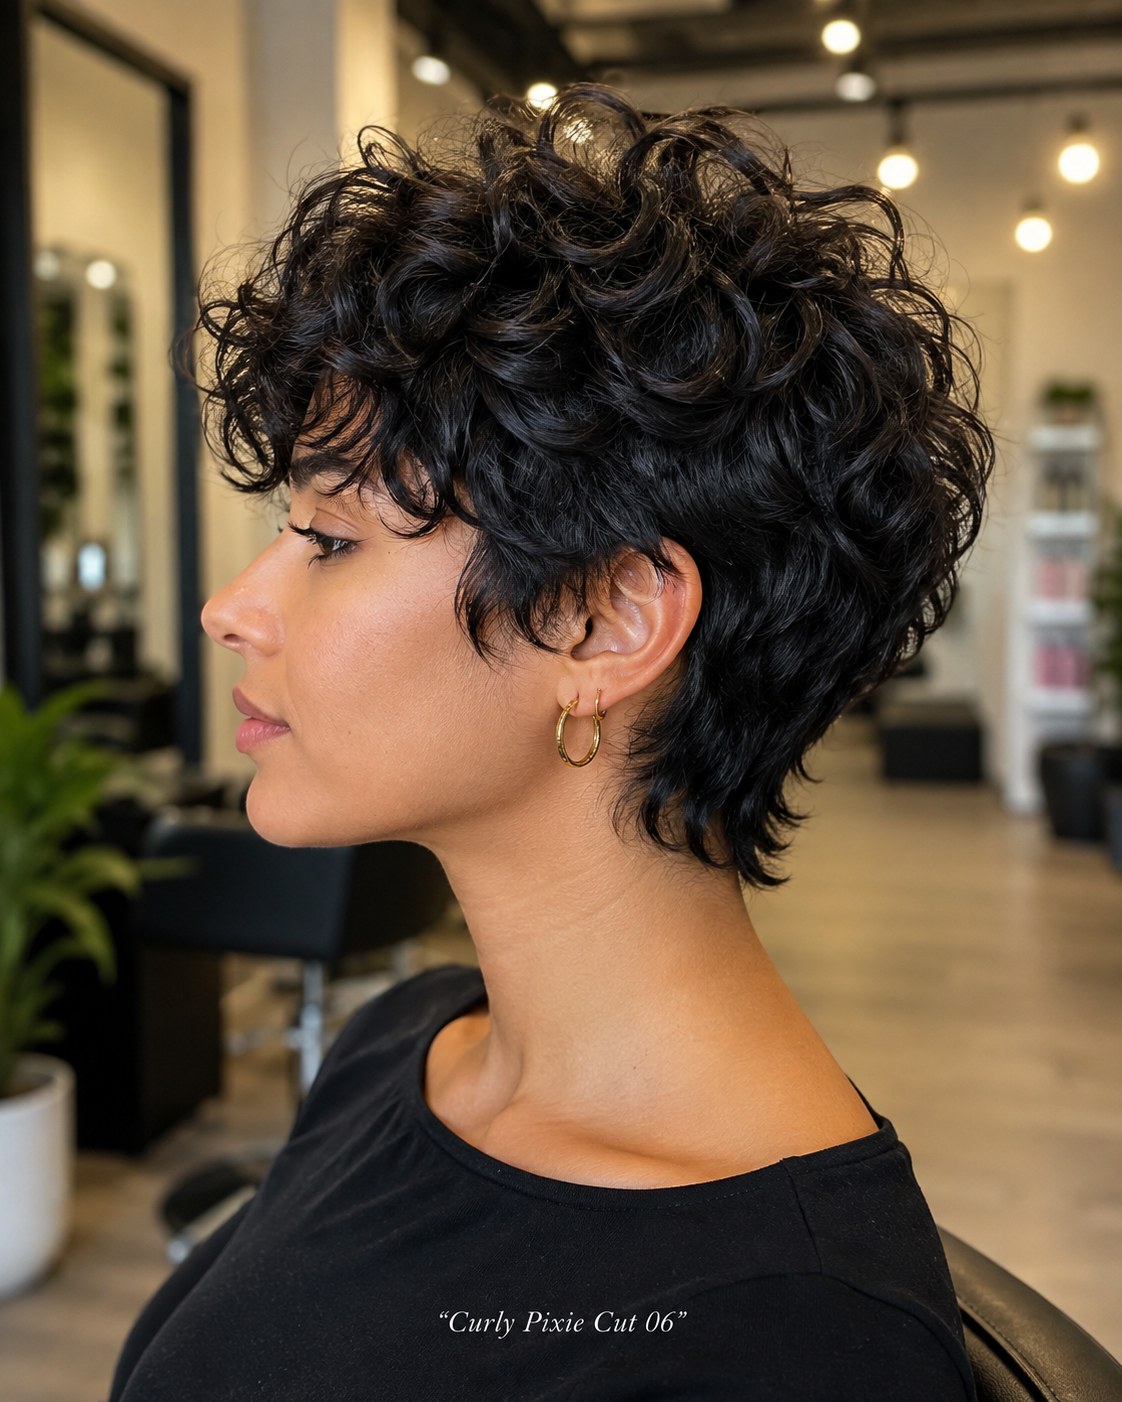
This is the boldest cut of the six, and honestly the one I get the most questions about — it borrows from the shag and mullet trend by leaving noticeably more length at the nape and sideburns while keeping the crown short and curl-forward. The result reads edgier and more current than a classic pixie without losing the short, easy silhouette up top.
Whom it flatters: denser, springier curl patterns handle this best, since the longer pieces at the back need enough curl definition to avoid looking stringy. Fine, loose curls tend to lose the shape's edge here.
- What to say to your stylist: request the nape and sideburns left one to two inches longer than the crown, with point-cutting throughout to keep it piecey rather than blocky.
- Maintenance: because of the length variation, this cut needs a trim every six to eight weeks to keep the silhouette from growing out shapeless.
None of these six are interchangeable, which is really the point — bring the photo that matches your curl density and face shape, not just the one you like best on someone else, and tell your stylist specifically what drew you to it. That conversation is worth more than the photo itself.


Your Questions, Answered
How often do curly pixie cuts need to be trimmed?
Every four to six weeks for the shorter, more sculpted versions, and closer to six to eight weeks for the shaggier or longer-nape styles, since a little extra length reads intentional on those cuts rather than uneven.
Can I diffuse a curly pixie without damaging the curl pattern?
Yes, as long as you use a low heat setting and keep the diffuser cupped rather than moving it around aggressively — constant motion while drying is what actually disrupts curl clumps and causes frizz.
Does a curly pixie work on fine, loose curls?
It can, but the cut needs to be adjusted for volume rather than copied exactly from someone with denser curls — shorter, more rounded layers hold shape better than long, heavy ones on finer curl patterns.