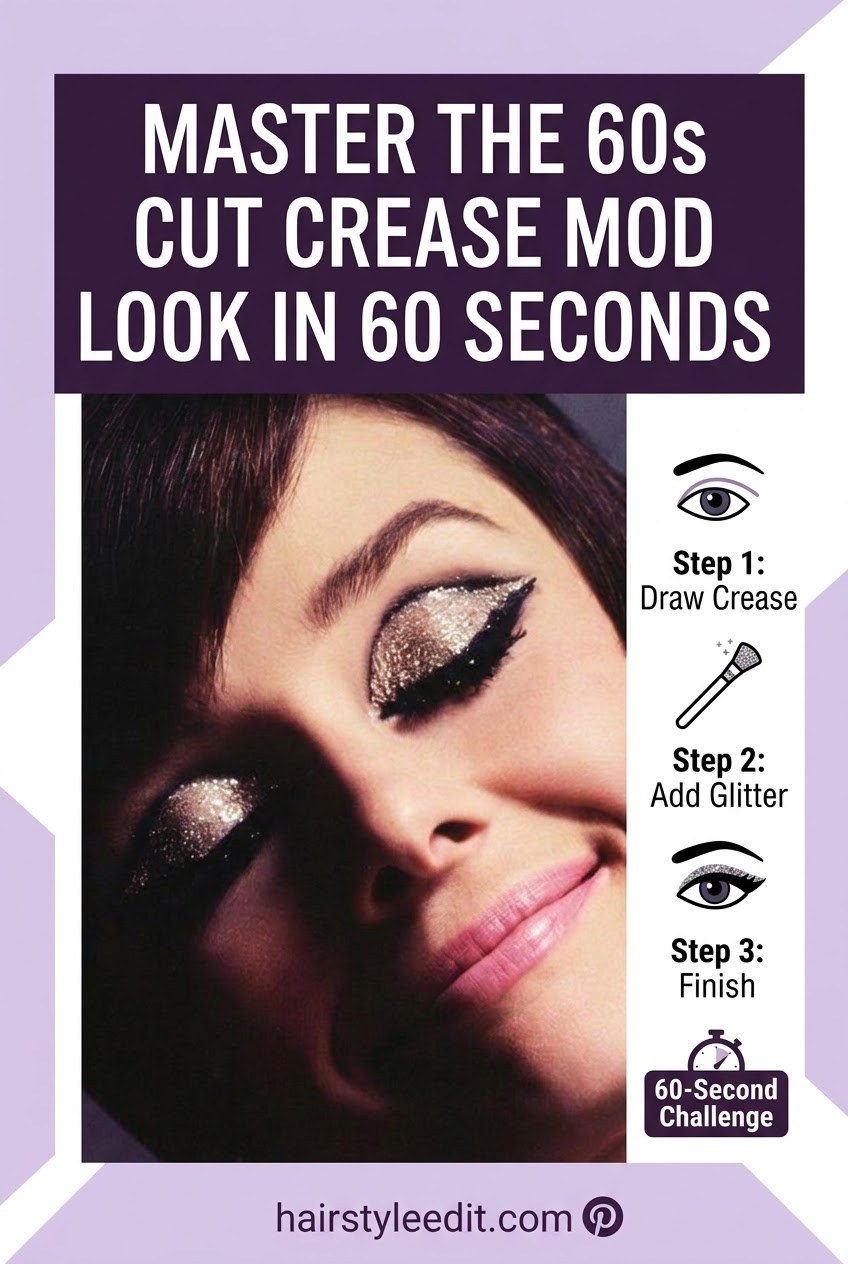
The 1960s cut crease is built around graphic eye definition, a pale lid, and a visible socket line that creates the unmistakable mod effect. I like this look because the technique is more about placement than using a huge collection of products.
A first attempt takes patience, but the sequence is straightforward: prepare the base, map the crease, brighten the lid, then finish with liner and lashes. Modern versions often keep the retro contrast while making the finish softer for everyday wear.
Summary
- Start with a smooth eyelid base and a light lid shade.
- Create the floating crease above the natural fold for a 60s shape.
- Use liner and lashes to complete the mod-inspired finish.
Creating the Classic 1960s Cut Crease Base
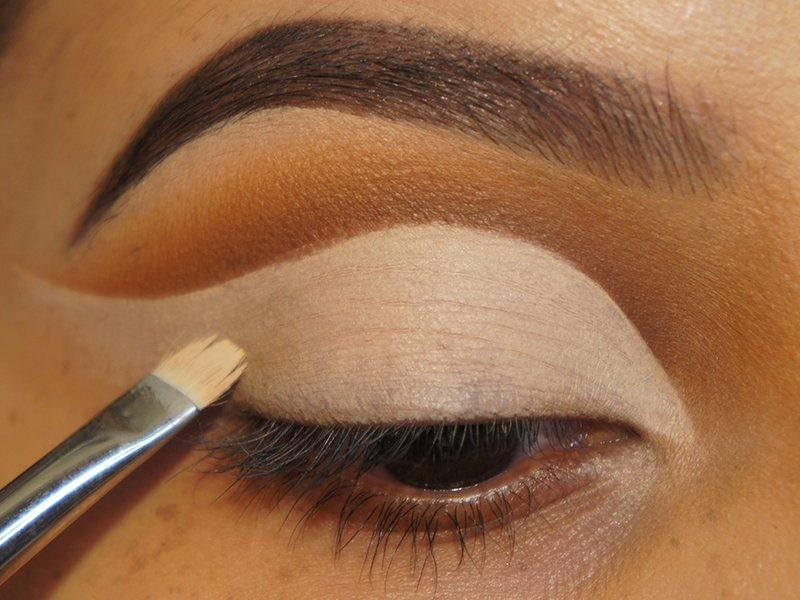
The foundation of this look is a clean canvas. I begin with primer and a light neutral shadow because the classic style depends on the contrast between a bright lid and a deeper crease. Light eyelid preparation helps the later layers stay sharper instead of blending together.
- Prime. Apply a thin layer of eye primer and set it lightly.
- Place. Add a soft transition shade above the crease area.
- Brighten. Press a pale matte shadow across the lid.
Avoid packing on too much product at this stage. The clean base layer gives the crease line room to stand out, which is the defining feature of a 1960s-inspired eye.
Tip
Keep the lid shade thin and even. Extra layers can make the sharp retro shape look heavy.
Defining the Dramatic Crease Line
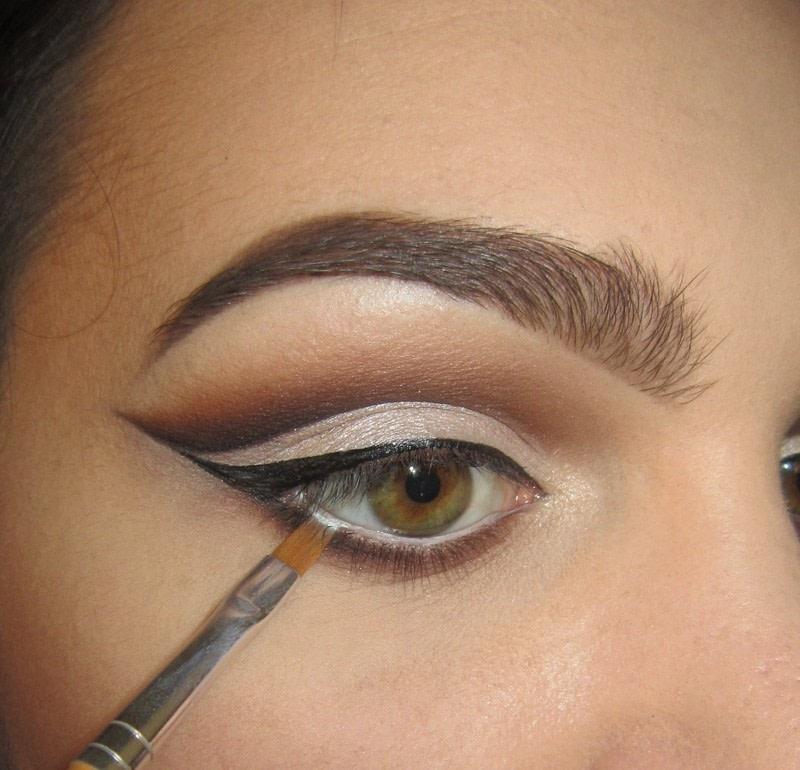
The crease line is where the look becomes recognisably 60s. Instead of following only the natural fold, the technique creates a visible floating crease shape slightly above it so the line remains seen when the eyes are open.
- Brush choice: Use a small angled or detailed brush for control.
- Placement: Check the shape while looking straight ahead.
- Blending: Soften only where needed to keep the graphic edge.
For hooded lids, the crease may need to sit slightly higher to stay visible. I prefer building the defined socket line slowly rather than trying to create the entire curve in one pass.
Common mistake
Blending the crease away removes the contrast that makes this vintage style work.
Applying the Mod Eyelid Shimmer and Highlight
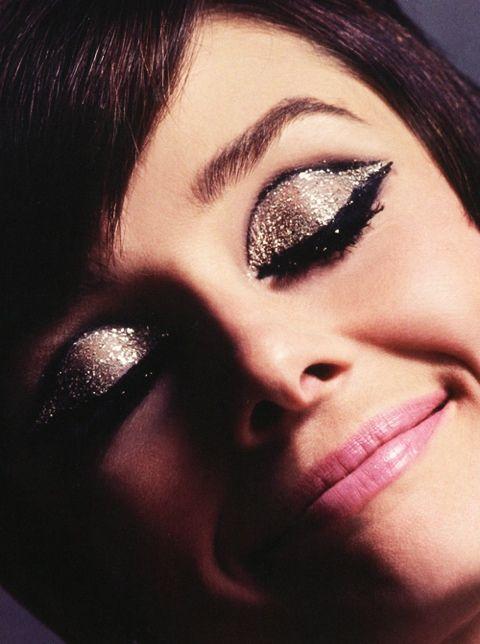
The lid should catch light against the darker crease. Classic mod makeup often used pale shades, and modern interpretations still rely on high-contrast eyelid colour to create that open-eyed effect.
| Style | Lid shade choice |
|---|---|
| Classic mod | White or ivory matte |
| Soft vintage | Champagne or satin beige |
| Modern version | Pastel or reflective shimmer |
I like pressing the colour onto the lid rather than sweeping it around because a solid bright lid keeps the separation between the two areas clear.
Adding Winged Liner and Full Lashes

The final eye details bring the retro mood together. A lifted wing and fuller lashes echo the exaggerated 1960s lash silhouette while keeping the cut crease as the main feature.
- Use a long-lasting black liner formula.
- Build the wing gradually instead of drawing a thick line immediately.
- Apply lashes that add volume without hiding the crease.
I find the easiest approach is adding intensity in layers. The controlled liner finish looks cleaner than trying to create maximum drama at the first stroke.
Note
If eye products cause irritation, remove them and avoid continuing use of the product that triggered the reaction.
Finishing the Retro 60s Cut Crease Look
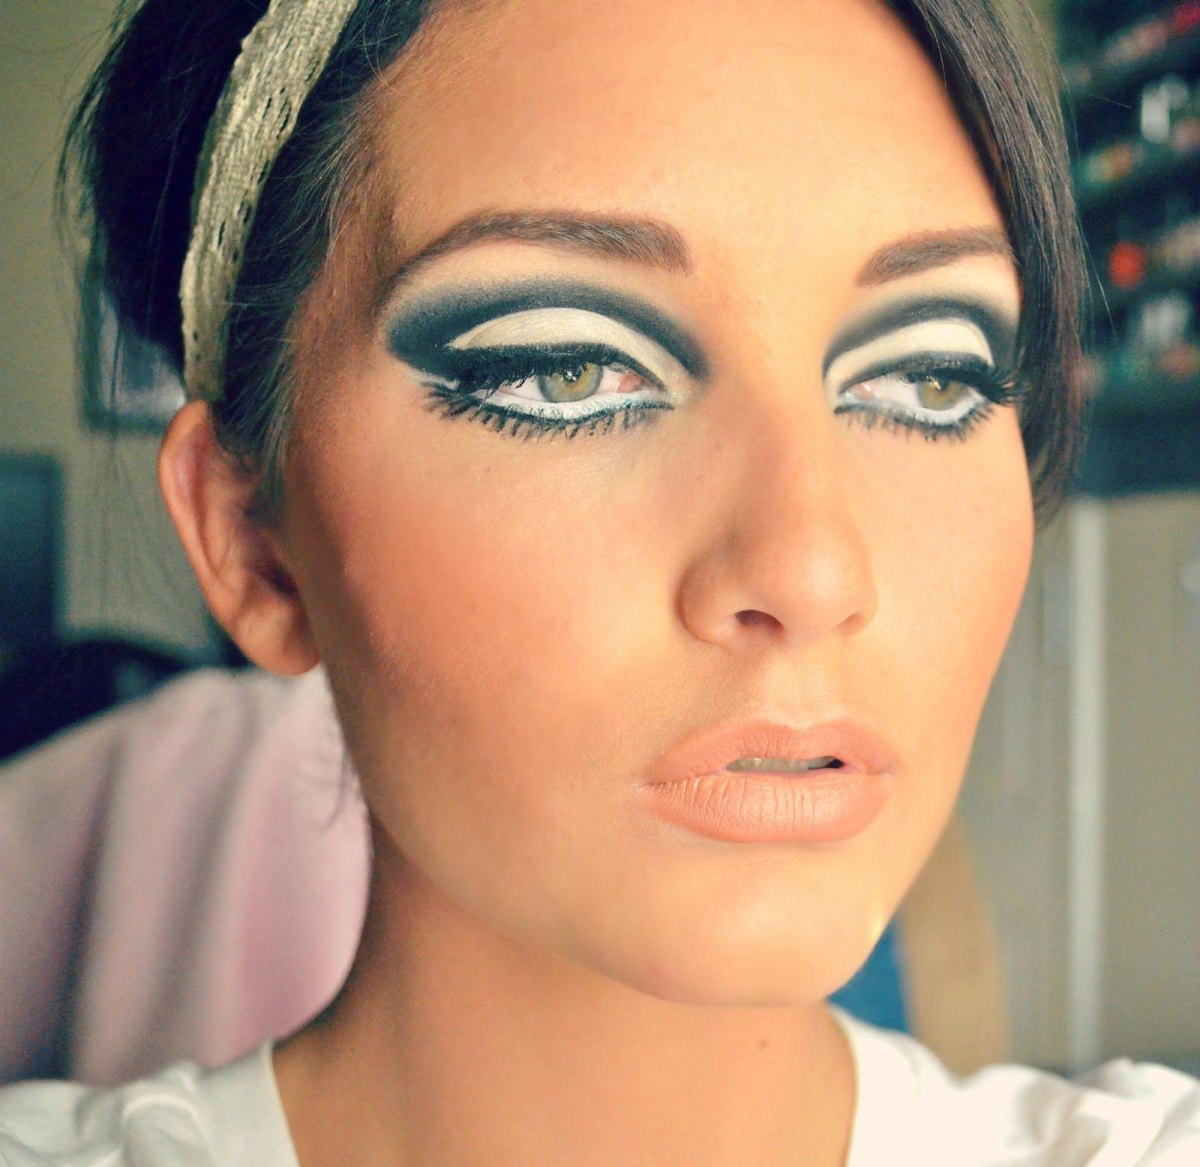
The finished look works best when every element supports the eyes. I keep the rest of the makeup balanced with tidy brows and a soft lip so the retro eye focus stays clear.
What works well
- Strong photographic definition.
- Flexible colour choices from classic to modern.
- A clear step-by-step structure for beginners.
What to expect
- The crease needs patience and precision.
- Sharp lines may require cleanup.
- Heavy layering can reduce the graphic effect.
A quick check in natural light usually reveals any uneven edges. The best final adjustment is often a small cleanup rather than adding more product. A polished mod finish comes from restraint as much as technique.
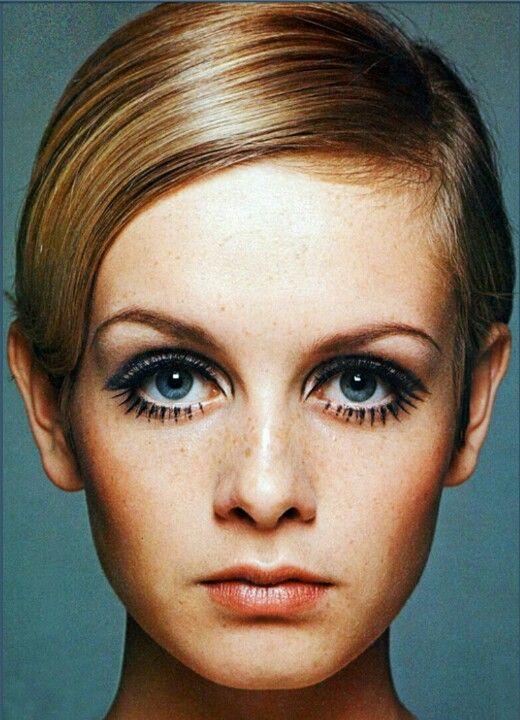


More Pinterest Visuals